Tag Archives: kids-coding

Kids Coding: Simple Java

Moving Beyond Blocks

I recently got my son (9) started on “real” programming with text files and the command line. Here are some notes about that. It’s still early in this experiment so I can’t claim that it’s a great idea, but its kind of working so far. There are so many web sites and product to get kids started in programming, but very little to move them past the basics into something more expansive. They risk getting obsessed but not then staying obsessed.

I learned programming because that is what you did with computers when I was a child. I kept learning programming because I could make the computer do new and interesting things. The problem now is that computers do amazing things without any programming and it requires massive experience and effort to achieve equally impressive results. So we must create a simpler environment which lets the child feel good about creating and understanding something more straightforward. It should be a path to real programming, not another island in a chain.

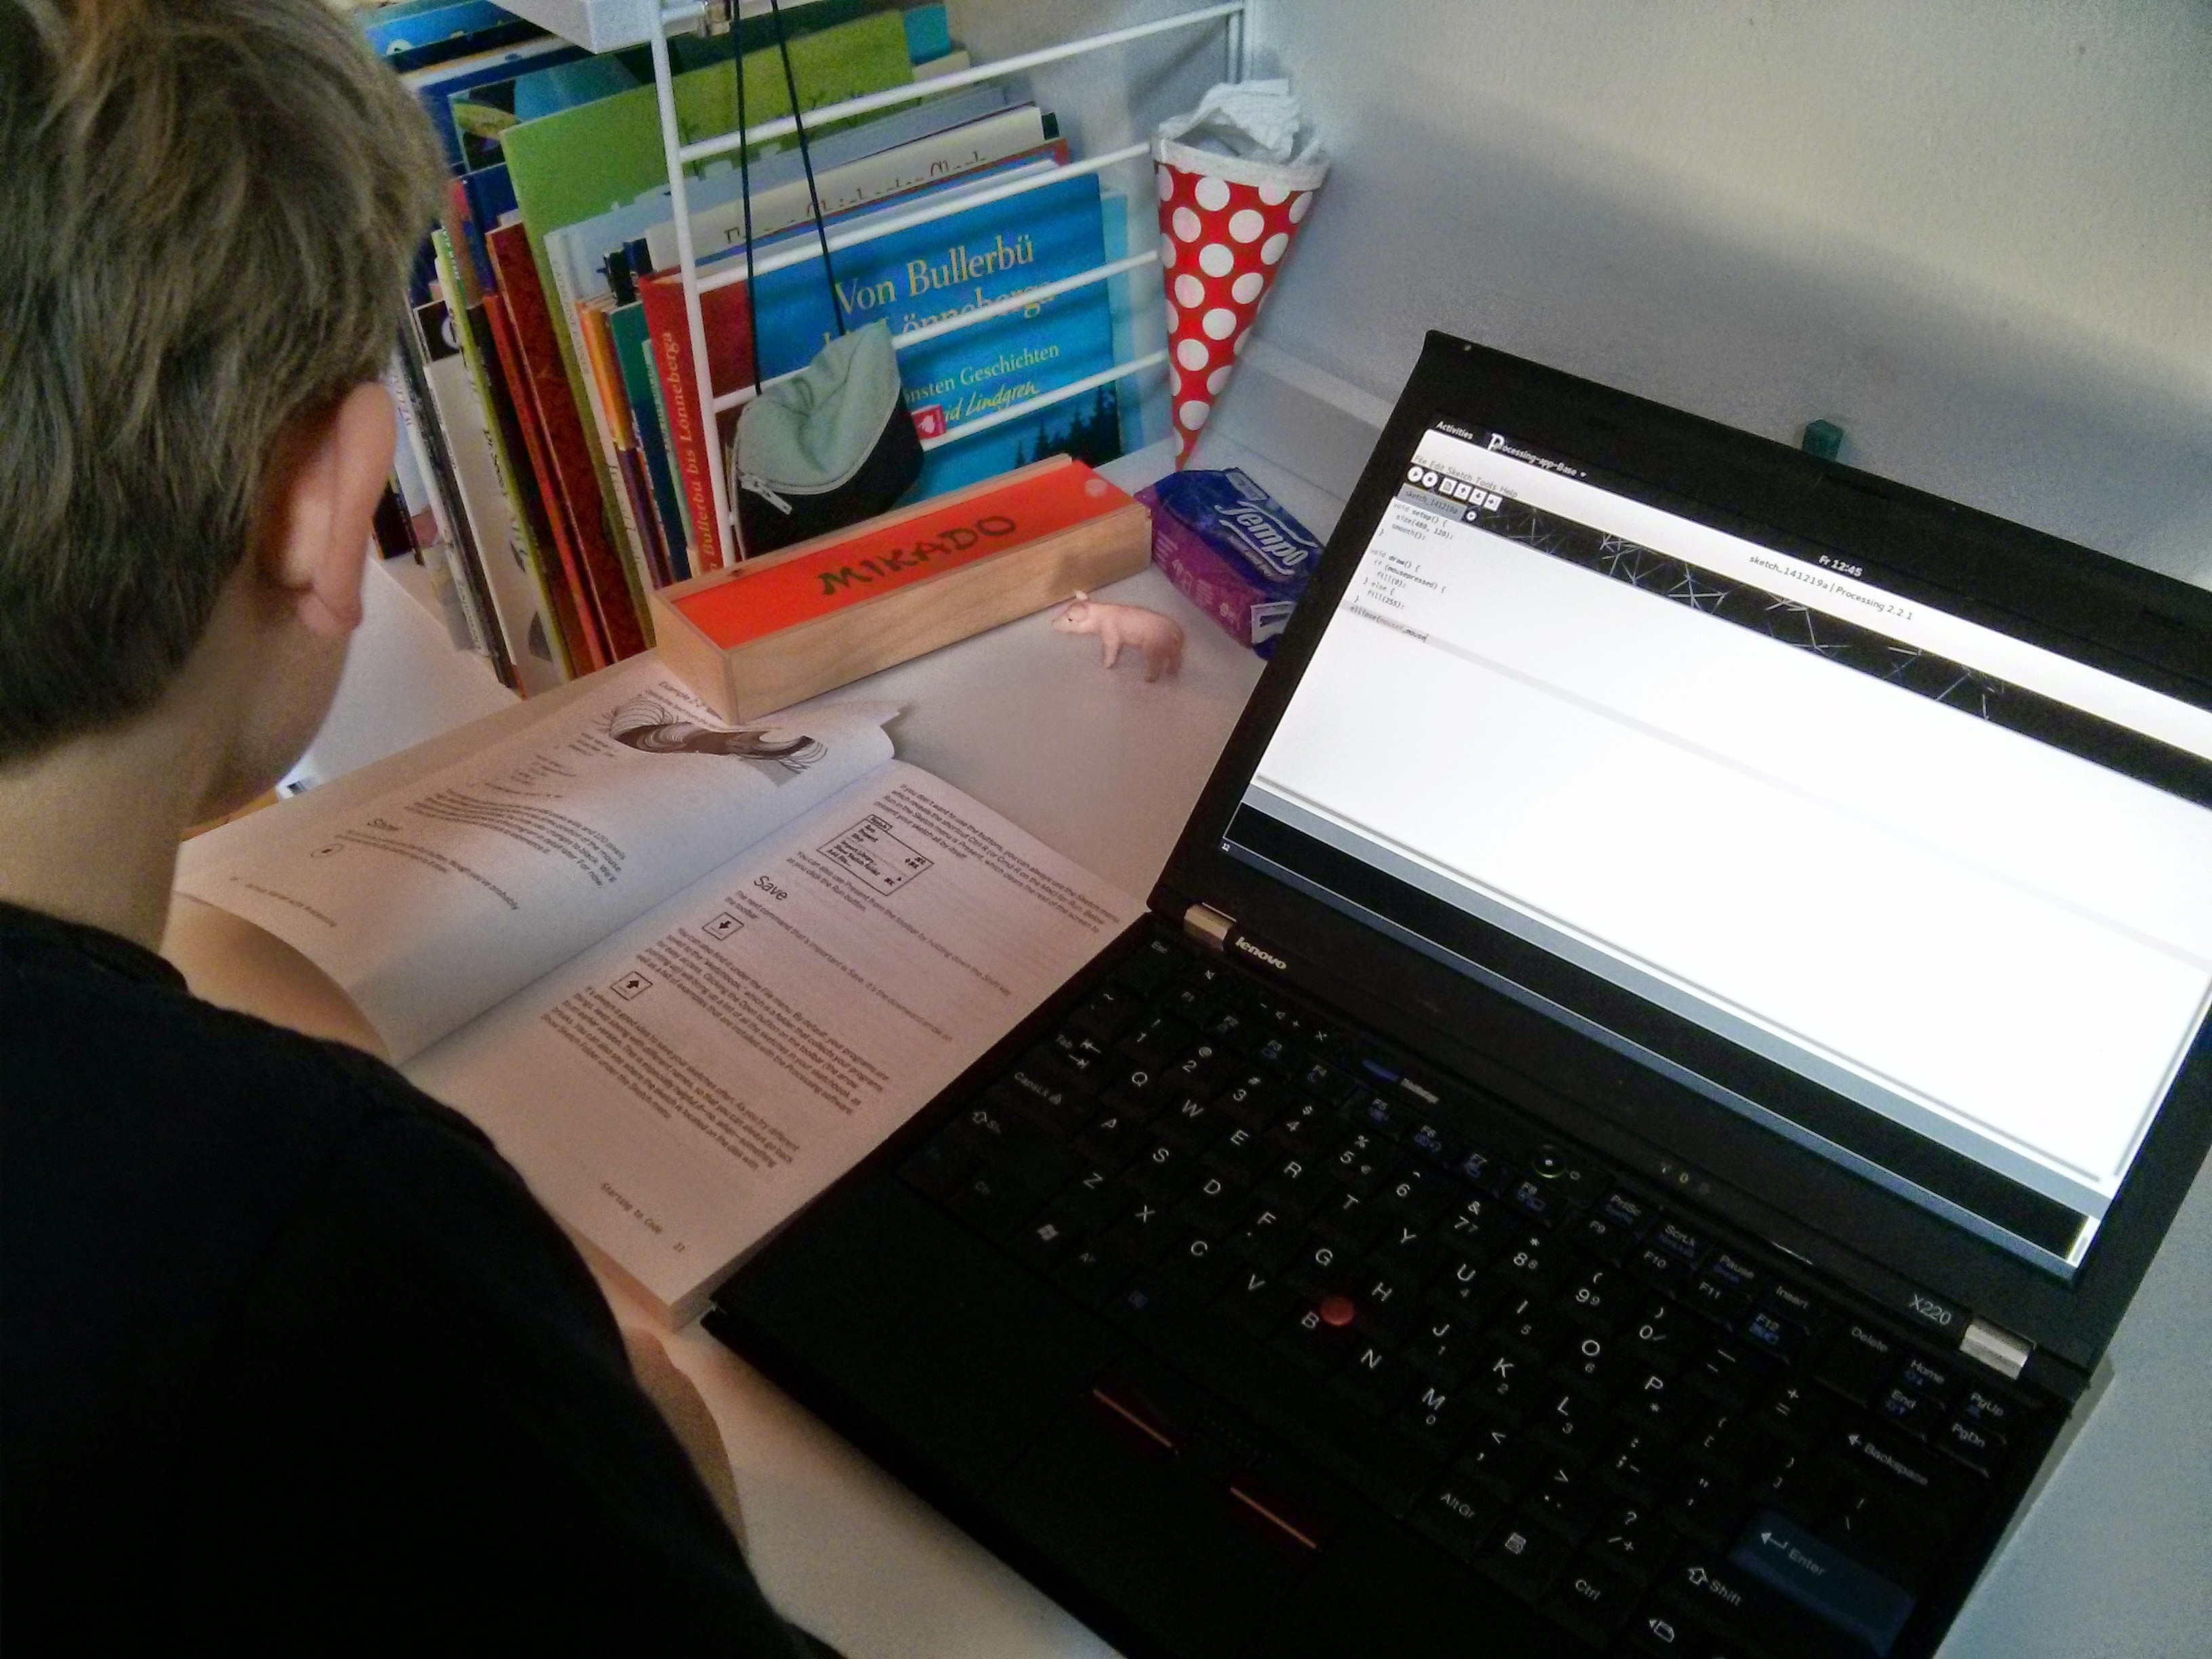
My son still hadn’t done much real text-based programming other than some playing with processing.org inside the IDE (which I also recommend) and some Python in CodeCombat. He had previously played a bit with Scratch and Lego Wedo, Hour of Code, Open Roberta (really good if you have the Lego Mindstorms education kit) and Tynker. He’s also done some Lego Mindstorms, but I think that’s an awful programming experience, at least with the non-education kit.

I’ve chosen Java, reluctantly, because I am familiar with it, it’s forgiving and convenient enough, and its language constructs (for loops, functions, etc) are enough like other C-like languages that the experience should be generally transferable. It’s far from ideal, but processing.org helps a little.

I love C++, but it’s clearly not suitable as a first text-based programming language. Neither is C, though I can imagine us trying that sometime. I think Python and Go are worth considering, but Python’s loose type system frustrates me personally and Go doesn’t seem quite mainstream enough.

However, if there is a simple language that you enjoy, whatever it is, I suggest that you use it with your kids. You must have enthusiasm to share and you must help them move past frustrations. If solving problems in the language doesn’t feel interesting to you then it probably won’t seem interesting to them. The overall aim here is to share your own love of programming by rediscovering how you learned programming yourself.

Using the Command Line

First I introduced the Linux command line, presenting it as where the real power is, where you can see and control what’s happening under everything else. (Yes, I know. Nevermind.) I kept is simple, just talking about directories and editing text files. We only covered:

  • Opening the terminal.
  • Seeing where you are with pwd.
  • Seeing what is there with ls.
  • Moving into a directory with cd.
  • Moving back with “cd ..”.
  • Opening a text file with gedit, from the terminal.
  • Using & so we can continue using the terminal after opening the file in gedit.
  • Running our program from the terminal.

Hiding the Boiler Plate

I wanted to mimic the experience of programming in simpler times, or of simple scripting today. At least at first, I wanted us to just write commands into a text file and just run the resulting program, without worrying about main functions or having a parent Java class, without  separate compilation and execution steps, and just using a Println() function instead of System.out.Println(). This let us avoid discussion of functions or classes until later.

I put this in my .bash_aliases file:

processing-run() {
    $HOME/processing/processing-java --sketch="$1" --run
}

so we can just run a program like this:

$ processing-run add

which runs the program in add/add.pde.

The .pde file just contains Java code, but not in any function and not part of any class (processing.org’s “static mode”). However, as soon as you want to implement your own function, you’ll have to put the rest of your code in a void setup() method (processing.org’s “active mode”), still not part of any class.

Using processing.org for this is a bit awkward, so I’m open to more suitable Java-like environments.

Doing Something Useful But Simple

I wanted to gradually explore simple programming techniques such as variables and loops, so I needed something that would just manipulate inputs and provide useful outputs.

I’ve chosen to gradually develop little programs based on the arithmetic techniques kids often learn in school. For instance, they learn an algorithm to add large numbers together using a carry – they just don’t call it an algorithm. They also learn long multiplication and long division, which add layers of complexity. As a bonus, this can demystify the magic that school requires them to repeat.

For instance, this commit history shows how we gradually wrote and improved a little program to add numbers (as strings). It’s missing the really basic code we started with. I used it to introducing new programming ideas along the way, such as:

  • Using variables.
  • Writing strings with quote marks.
  • Looping over the characters in a string (and backwards), particularly with the awkward for loop syntax.
  • Text output (standard out)
  • Discovering the length of a string instead of hard-coding it, to make the code more general.
  • ASCII Character codes. (Ignoring full Unicode for now.)
  • Getting a number (0, 1, 2, …) corresponding to a character (‘0’, ‘1’, ‘2’, …). Talking about types.
  • Using variables and manipulating them. For instance, adding the two numbers for two digits from two “numbers in strings”.
  • Variables in the loop and variables outside the loop. Some variables’ values are forgotten at the end of each time the loop is run, and some values are kept and used the next time.
  • Conditionals with if.
  • Putting code into functions and calling it.
  • Making functions take parameters, to make them more generally useful.
  • Calling functions from functions.
  • Passing an array instead of several parameters of the same type, to make the function more general.

You soon end up with a bunch of code that is big enough to seem overwhelming to a child. So every now and then I printed the code out so we could discuss it together. We talked about ideas such as variables, and setting variables, about functions, function parameters, and how to call functions, marking places in the code code with colored pencils.

Version Control

Programming is an iterative, experimental, activity. So I think version control should be introduced early as long as you can keep it simple.

We wrote the code at the same time on our own computers while sat next to each other. I checked in the changes to GitHub because they don’t allow users younger than 13. Seeing the changes, and their descriptions, should help kids remember the learning experience and remind them where they are on the path they’ve takhen. But it’s a real shame that kids can’t really own their coding history on GitHub, even privately.

Processing for Kids

Liam (7) has been playing a little recently with Processing, mostly drawing shapes and moving them around. The Hello Processing interactive video tutorial is an excellent introduction, for kids too. Thanks to Jon Nordby for suggesting Processing.

Liam is gradually working through the Getting Started with Processing book, typing in example code and changing it as the book suggests. Previously he has used Scratch and he’s started using the Lego Mindstorms programming environment, which is surprisingly visually complicated. But Processing is a nice introduction to real text-based programming, where you must type everything perfectly correctly or the computer will complain with incomprehensible error messages.

So far this seems to be the closest modern-day equivalent to my childhood experiences of sitting down with a Sinclair ZX81, Spectrum, or BBC Micro and trying things out from a book on BASIC. The expectations are low so you can easily feel that you’ve achieved something significant.

IMG_20141219_124554

The Processing IDE is a very simple and obvious UI and a Processing hello-world can be just one line, without any platform initialization, without specifying anything about exactly where your output should appear:

line(15, 25, 70, 90);

By default there’s just one screen that you draw on, and all functions and types appear to be in a global namespace. So you can start making things happen without the distraction of boilerplate code and without figuring out where in that mess to put your own code. You don’t need to learn about objects, inheritance, or encapsulation, though of course you should later.

Writing an iPhone or Android app might seem more interesting to modern kids, but they’d have to wade through so much kibble just to get started, while always noticing how far they are from achieving anything like the existing apps they see.

Processing is actually Java. When you write code, that code then seems to be the contents of a method in a (derived?) PApplet class, though you don’t see that other than in some compiler error messages. The functions such as size(), stroke(), point(), ellipse(), color(), strokeWeight(), etc, are actually member methods of this class. You don’t need to import any Java classes to use this API.

Java is fairly forgiving, particularly for the simple examples that people will start with. And it  offers a nice route into object orientated programming without the lower-level pain of C or C++.

Instead of just writing a bunch of code to run and then stop, you can instead define (override) setup() and draw() functions that do what you’d expect. The draw() method can make use of member variables such as mouseX and mouseY (these are not parameters of draw()). Likewise, you can implement keyPressed() and make use of keyCode. So you get a simple introduction to making a program interactive by doing event-driven programming.

Processing is not perfect, and I think you’d feel the lack of a real API and IDE as soon as your project became more serious, but it’s a great introduction to real programming.

Lego Wedo with MIT’s Scratch: Simple Robotics for Kids

Lego Wedo

Last week my son, who has just turned 6, tried out the Lego Wedo kit that I’ve had sitting in the cupboard until I thought he was ready. It’s a very simple system of sensors and a motor that plug into a computer via a USB hub so the child can write simple programs to control it. For instance, the program can turn the motor on or off depending on the whether a sensor detects something.

It’s a nice simple first step into programming and robotics for kids that aren’t old enough to deal with Lego Mindstorms, which I guess needs a higher level of reading and writing skills. Controlling real objects in the real world is interesting enough to small children. As robotics is not yet pervasive in everyday life, the limited functionality is helpfully simple without seeming unimpressive.

It’s the best equivalent I’ve found for my own first programming experiences with BASIC on the Sinclair ZX81 when I was 8 years old. That didn’t allow anything but programming from the moment you turned it on, and the BASIC keywords were just a keyboard press away. Putting text on the screen and reading text input was new enough to keep my interest. Today, children expect computers to do much more impressive things on a screen. But they don’t expect so much from Lego.

I talked my son through building the programs, encouraging him to start with simple steps, checking that they worked, finding out why they didn’t work, and then building upon that step, until he had a whole program. For instance, first we would make something move, then make it move as we wanted, and only then think about how to make it move only at certain times or how to make things happen onscreen. Plenty went wrong so he had a chance to learn that errors and debugging are normal.

Lego Wedo is part of the Lego Education line, which is aimed at schools, and their procurement processes, rather than general consumers. This need to support a network of distributors, and to provide curriculum support and lesson plans, is probably why it’s so expensive. The Basic Lego Wedo set (Lego kit 9580) is 129.95 Dollars in the US, or 148.74 EUR in Germany. Until recently, it was hard to buy this stuff as an individual, at least here in Germany, but the Lego Education online shops (listed here) now allow this. And the Lego Wedo kit is available on Amazon.de from third parties. It’s probably worth looking on ebay too.

Scratch instead of the Lego Wedo Software

The kit is useless without software, so you usually need to buy the Lego Wedo software separately, making the whole thing even more expensive (89.95 USD in the US, or 101.14 EUR in Germany, though I think it used to be twice as much). It runs only on Windows and Mac.

Luckily, MIT’s Scratch 1.4 has support for Lego Wedo. It “just works” on Linux, at least on Ubuntu Linux and Fedora Linux. Scratch is available for Windows and Mac, so I guess that it will work there too.

We have an OLPC XO laptop which has Scratch installed by default, which works perfectly with the Lego Wedo. I recommend this setup wholeheartedly because then the child doesn’t need to deal with all the surrounding crap in an adult’s operating system and doesn’t need permission or help to start playing. Unfortunately, I don’t know how individuals can buy these now, though you might have luck on ebay.

I’m not a fan of Scratch’s user interface because it expects kids to drag and drop, or click, on tiny targets and read tiny text. I guess that the official software is much easier. But Scratch is way better than nothing, and my 6-year old child can handle it now.

When the Lego Wedo USB Hub is connected, the Motion and Sensing areas have extra Lego Wedo Scratch blocks for use with the motors and sensors.

Unfortunately, the latest version (2.0) of Scratch, as seen on the main Scratch site, is browser-based, using Flash, though they are apparently aiming to rewrite Scratch in Javascript. It doesn’t seem likely that the online version will support hardware such as Lego Wedo any time soon, though it’s apparently in progress. Luckily the older versions are still available and still work.

Lego Wedo Hardware

The Lego Wedo basic kit has one motor, a distance sensor and a tilt sensor, along with the lego pieces, such as blocks, cogs, and axles, needed to build the models seen below. That’s obviously fairly limiting, but it’s enough for some first steps for young children.

The official Lego software can apparently control multiple motors, and multiple USB hubs, but MIT’s Scratch can only control one motor without installing a custom thingy.

The Lego Wedo motor is the same as the Power Function motors that can be bought separately  or that come with big Lego kits such as the Lego Technic 4×4 Crawler which my son has just built. However, these motors and sensors are not compatible with the Lego Mindstorms system (neither the older NXT nor the newer EV3 systems), which is rather annoying.

Lego Wedo Models

We built a few of the basic Lego Wedo models using the online PDF instructions. The advanced models, such as the ferris wheel, need (unusual) parts from the LEGO Education WeDo Resource Set (Or “Expansion Set” – Lego kit 9585) but we might try building something similar with what we have.

We had to think up suitable Scratch programs for ourselves, but that’s a useful exercise. The Lego Wedo Teachers guide (see Activities here) has some helpful suggestions about what you might try to achieve.

We built these models:
(View this at the original page if you can’t see the (done in a rush) embedded videos.)

Hungry Alligator

The alligator snaps its jaws open and shut when your finger gets close enough. Our program kept checking the distance sensor, and when that had a small enough value, we turned the motor on in one direction for some time and then in the other direction for some time. We had to make sure that the mouth was open when it finished, or it would block its own sensor and keep snapping forever.

Here’s a picture of our program:
IMG_20140112_085612

Goal Keeper

The goal keeper moves around in front of the goal. The distance sensor behind the goal detects balls moving past it, so the program can keep score. We had two sets of blocks – one to move the goal keeper at random, and one to keep checking the sensor, incrementing a variable and showing its value on screen. We hacked in a wait to stop it from incrementing the variable too much as the ball passed the sensor but this could be cleverer.

Here’s a picture of our program:

Flying Bird

The bird’s body and wings can be moved manually. There’s no motor in this model. It’s just a fancy way to trigger the distance and tilt sensors. When the body moves, the tilt sensor triggers a flapping sound from the computer, and when the head blocks the distance sensor, the computer makes a chirping sound. Scratch has a bird chirp sound by default but we had to record ourselves saying “flap” for the other sound.

The tilt sensor is rather imprecise, and only provides one value at a time to indicate one of flat, up, down, left or right, which doesn’t make much sense. Scratch displays the value as a number between 0 and 4 which makes things hard for kids. The meaning of each tilt value is mentioned here.

Drumming Monkey

The monkey’s arms move up and down due to the motion of the rotating cams attached to the motor, letting you change the rhythm by changing the motors speed and duration, and by changing the positions of the cams and the arms. This model has no sensors. It’s rather underwhelming.

Here’s a picture of our program:

Programming For Kids

I tried a couple of applications with my four-year-old son: Pictomir and MIT’s Scratch.

Neither seem particularly well maintained and neither are suitable for young children without lots of supervision. Pictomir is easier to get started with, but not easy enough. Scratch is probably more interesting to older children, though they’ll partly be learning about how software is still so often arbitrarily annoying, and I’d prefer that they were introduced via a better example. I’m very tempted to write something better.

Pictomir

pictomir
Pictomir at first start up.

Pictomir leads the child through a series of levels, telling an R2D2 robot (Don’t tell George Lucas) to move around some isomorphic squares to paint some tiles. At the beginning the program exists and the child just needs to click the play button. In subsequent stages the child has to build part of the program himself, and then all of the program.

The available commands, at least at the start, are icons for left-turn, forwards, right-turn and paint at the top of the screen. These may be be dragged into the available boxes in the program at the right of the screen, though you can instead put them there by clicking to select and then clicking on the empty box in the program. However, the available commands are far away from the program where you must place them, so the child has to spend lots of time moving the mouse pointer back and forth across a wasteland of empty space.

I found an official Ubuntu package in the developer’s PPA. It was last updated to Ubuntu 10.10 (Maverick), but you can install it manually on later versions. All of its UI is in Russian, though you can ignore most of it because the UI is icon-based. When I built the newer code from source a few months ago, I think the UI was translated.

I guess that Pictomir was developed for a specific screen size and generally older PCs. It does not scale the playing area up, so the child has to deal with a tiny R2D2 on a tiny grid in the middle of wide empty space.

pictomir has a bare svn repository, though I can’t see how clean its commits are, and I don’t know if it’s still used. There are no commits since last year. My svn says that the svn format is too old to check it out, though I’ve checked it on on previous Ubuntu installations.

It’s website it quite awful (and only in Russian). I only discovered Pictomir thanks to commenters on Google+.

Scratch

The Scratch UI has several problems that make life hard for the child:

scratch
Scratch, after creating and running a small program.
  • Scratch requires the child to cope with tiny targets (See Fitt’s Law)
  • Scratch demands the use of drag and drop. This is frustrating for normal users, let alone children, and really hard with some laptop touchpads or trackpoints.
  • Update: Scratch requires the child to understand the difference between left-click and right-click. Right-click brings up a help context menu, which just causes confusion.
  • Update: The tiny commands have tiny text edit boxes. Children have a high chance of clicking it instead of clicking the command block itself. This problem could be partly solved by accepting drags on the edit box.
  • Scratch requires the child to double-click (see below).
  • The commands require the children to read, but a subset of the commands could instead be respresented by icons. The words are particularly hard for beginner readers because they are written in such a tiny font.
  • To get started with scratch, you need to figure out that you need to double-click on the first program command to actually start your program. There is no simple run button. You can cause your program to be run by clicking the green Flag button, but that’s something you need to put in your program.
  • When you try to move a command around in the program, it moves the command and all subsequent commands, as a group. So moving just one command means moving stuff around and then moving some of the stuff back to where you started.
  • Your program moves the Scratch cat sprite around the canvas, but that canvas is tiny, and the sprite can move off screen. The only way I found to get it back was to double-click the set-x-to and set-y-to program commands. I can figure that out, but beginners will not.
  • When you’ve drawn all over your canvas, the only way to wipe it is to go to the Pen set of commands and double-click the Clear command.
  • The sprite moves far too fast for the child to understand the relationship between the commands and the motion, without someone explaining it. If the command says move-10-steps then I’d expect the sprite to visibly move 10 steps. Advanced users might prefer it to be faster and smoother, but the default should make things obvious.

There are some other strange things in the UI which are probably a side-effect of its eccentric (Smalltalk) implementation.

  • Scratch has a menu (well, an icon-menu) for changing its language, instead of just using the user’s regular language.
  • None of the UI elements (menus, tabs, buttons, file chooser dialog, etc) match other standard applications on the system.

I think Scratch could be really popular with younger kids if it ran on Android with a touch interface and with less text, maybe as a simpler version. But the developers don’t seem to have any interest in that – they seem to be working on a Flash-based version of Scratch for the web, which is unlikely to work well with touchscreens, even if they can get Flash to work on Android and iPhone (they won’t). And I have no interest in hacking on Smalltalk. There seem to be various programming-language-based forks of at least the underlying engine, but none seem to be successful.