As GUADEC approaches, it’s really time for me to update my hackergotchi so people don’t tell me afterwards that they wished I had been there.

Unfortunately this also means that less people will meet me and remember me as particularly wise and with a German accent too. If you’ve had that experience already then you’ve actually met Matthias Clasen, who indeed does the work of two people.
That’s three or four years of not looking half normal while simultaneously being between a camera and a plain background. I did my best with the normal-looking, but I plan to be dissatisfied with this one for another few years.

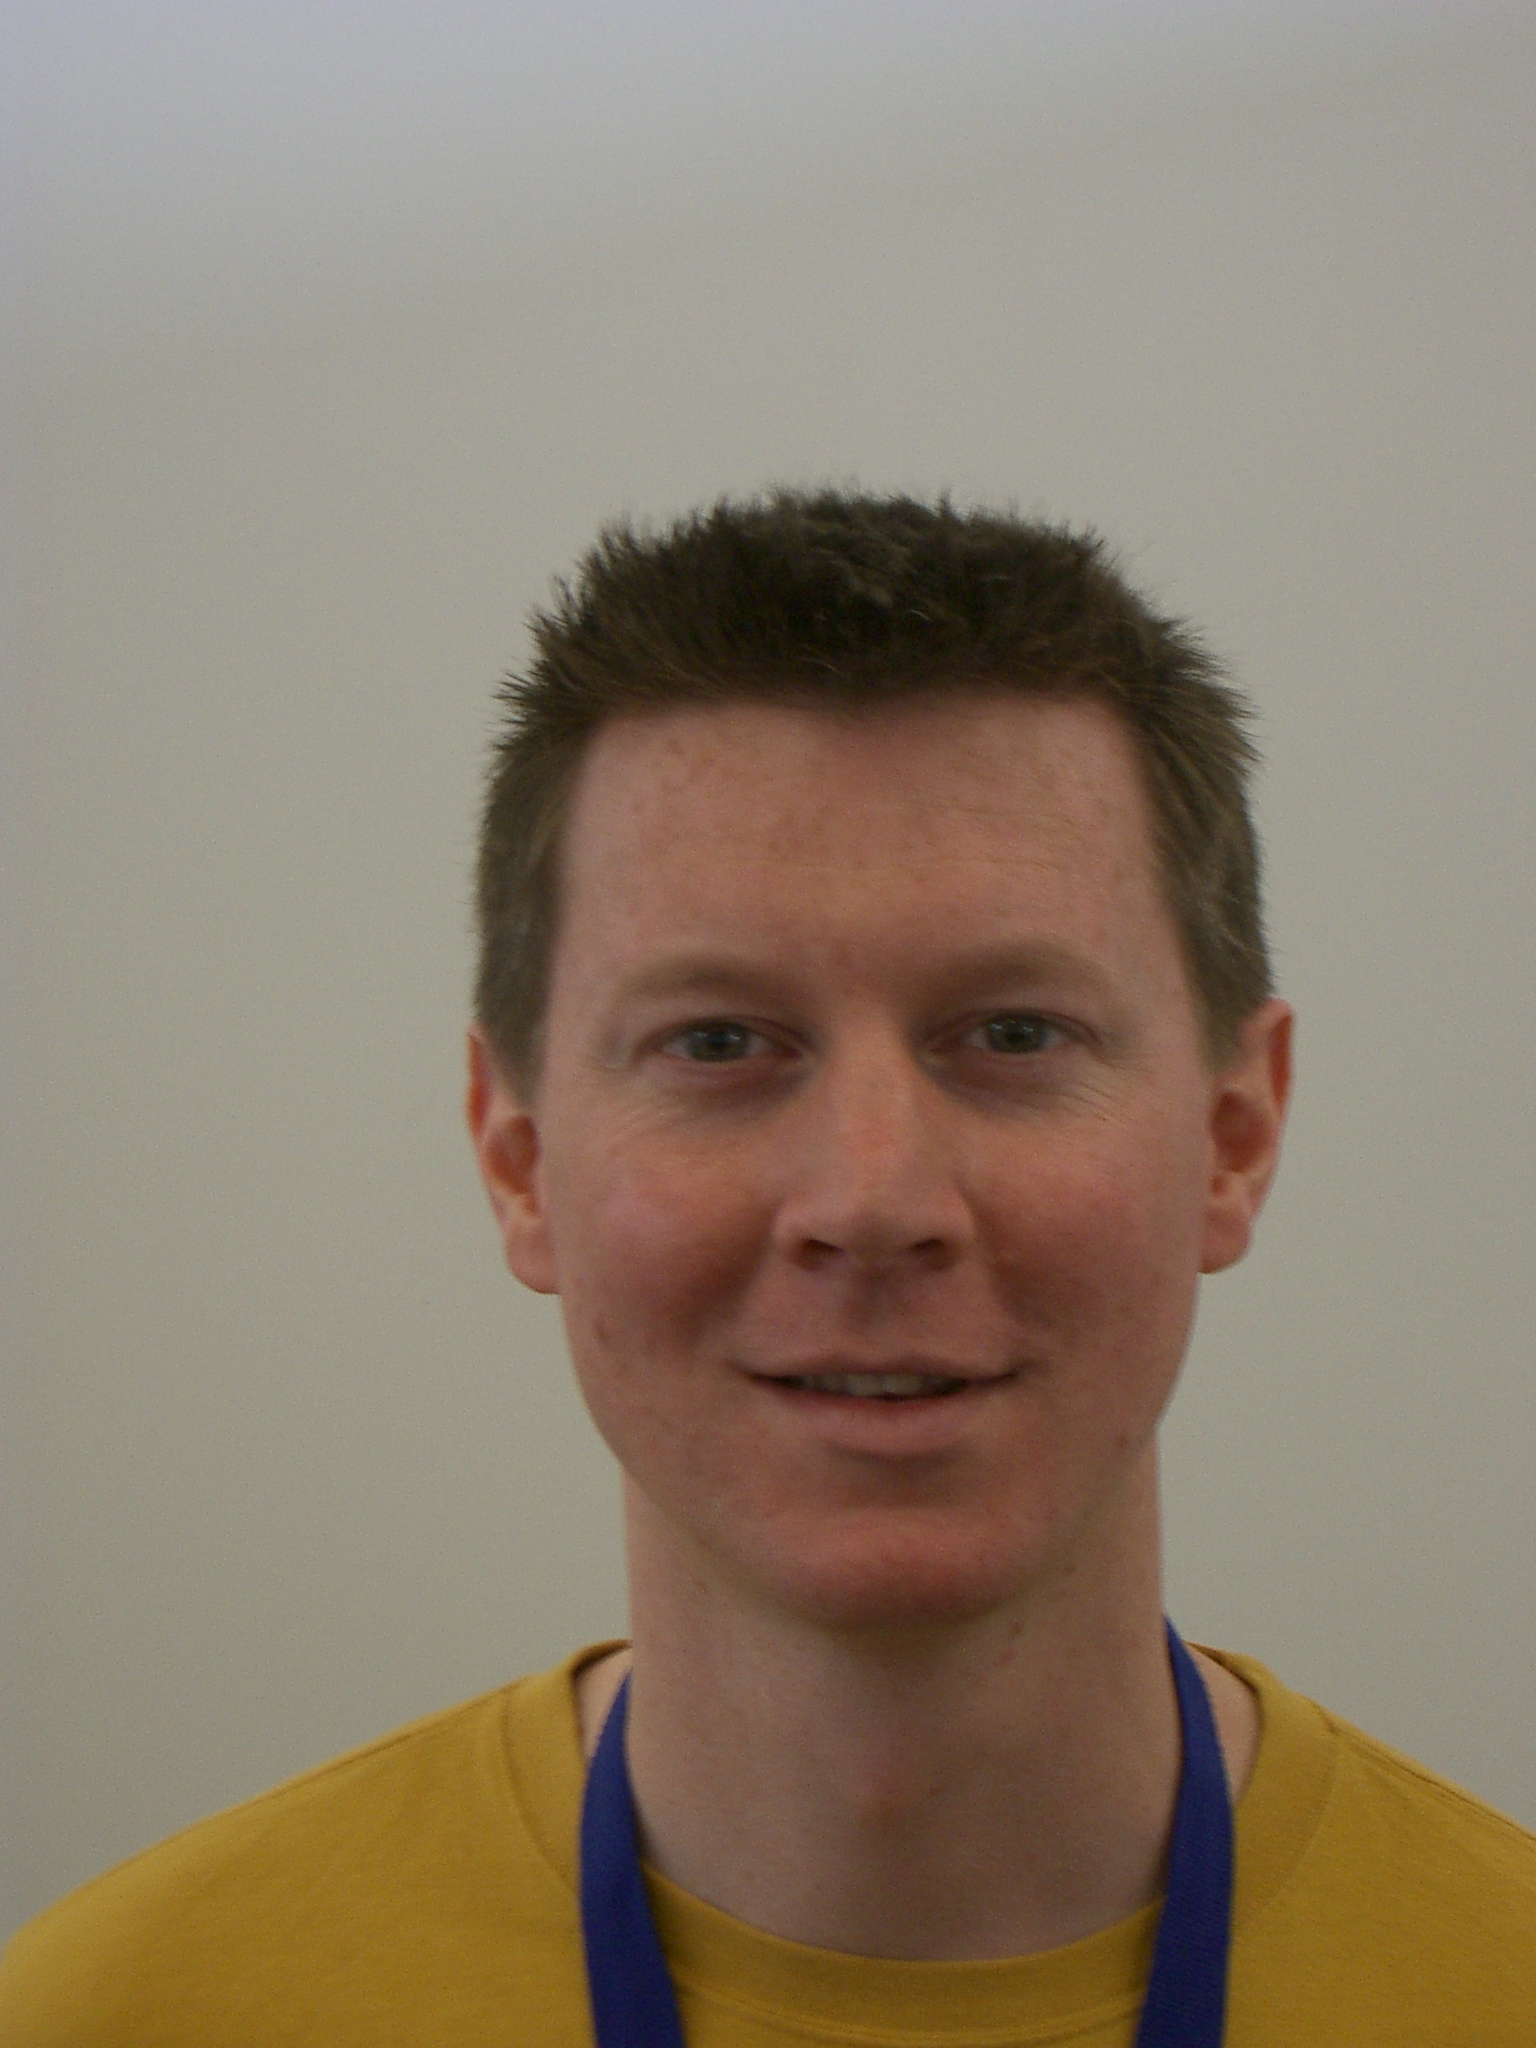
This takes me ages to do in GIMP. If anybody would like to do a better job, here is the original:
 Update: Mark Slater made a better one, though it shows up with a black background in WordPress when I import it into WordPress. Let’s see how it looks online:

Hello,
I played a few minutes with your photo and this is my result:
http://www.chauveau-central.net/tempo/IMGP0765.png
The gimp file can be found here:
http://www.chauveau-central.net/tempo/IMGP0765.xcf
The gimp file contains contains multiple layers of full size.
You can adjust the mask darkness by changing its transparancy.
To regenerate the PNG you have to disable the backgound color.
You should only have 2 only active layers: The head the shadow.
And of course scale down (I used 22% in bilinear mode).
For information, this is how I did it with GIMP 2.3.7.
(1) Add an alpha channel to the original image layer.
(2) Get an approximate Selection of the head using the new ‘extract foreground tool’.
The other selection tools should work. I do not need to be too precise.
(3) Invert the selection (Ctrl-I), cut everything outside the head (Ctrl-X) and disable the selection (Ctrl-A)
(4) Add a dark-blue layer as background.
The purpose of this is to make the ‘bad’ pixels more visible.
For example, the bolder of the hairs contain several whiter pixels from the background.
(5) Cut the largest blocks of unwanted bits using the hand-selection tool
(6) Clean the edges using the Eraser. I started using a middle size smooth round brush 9×9, and I finished with the smallest 3×3 (still the smooth one). The most difficult part was the hair: identify most of the white pixels and ‘click’ them out.
(7) Create a black version of the head using the threshold tool
(8) Apply a large gaussan blur to the black head to obtain a shadow. Put it below the head layer and adjust its transparancy.
(9) Switch to a white background and move the mask layer to simulate a shadow
(10) The head is a bit overexposed so I adjusted the levels using the curve tool ( Using the ‘Levels’ tools would work too).
If it helps:
Hackergotchi with white background:
http://www.geocities.com/kandalfus/images/murraycgotchi.png
Hackergotchi with transparent background:
http://www.geocities.com/kandalfus/images/murraycgotchi_trans.png
It was a slow morning so I took a crack at it.
PNG with shadow to bottom-right:
http://gundy.org/misc/murrayc.png
Gimp with center shadow and bottom-right also.
http://gundy.org/misc/murrayc.xcf
The XCF has white and black backgrounds so you can see that it works with both. Enjoy.
P.S. When I export from Gimp to PNG I uncheck all the options.
My try :
http://kagou.org/CR2/test-small.png
Wow. Thanks. I chose Mark Slater’s because it seemed the most clear. And thanks S. Chauveau for some great instructions.
Just email your photo to this company and they will make you a free hackergotchi head.
Whoops, sorry I forgot to put the link:
http://www.lakeland-printing.com/free-hackergotchi-heads-p-938.html